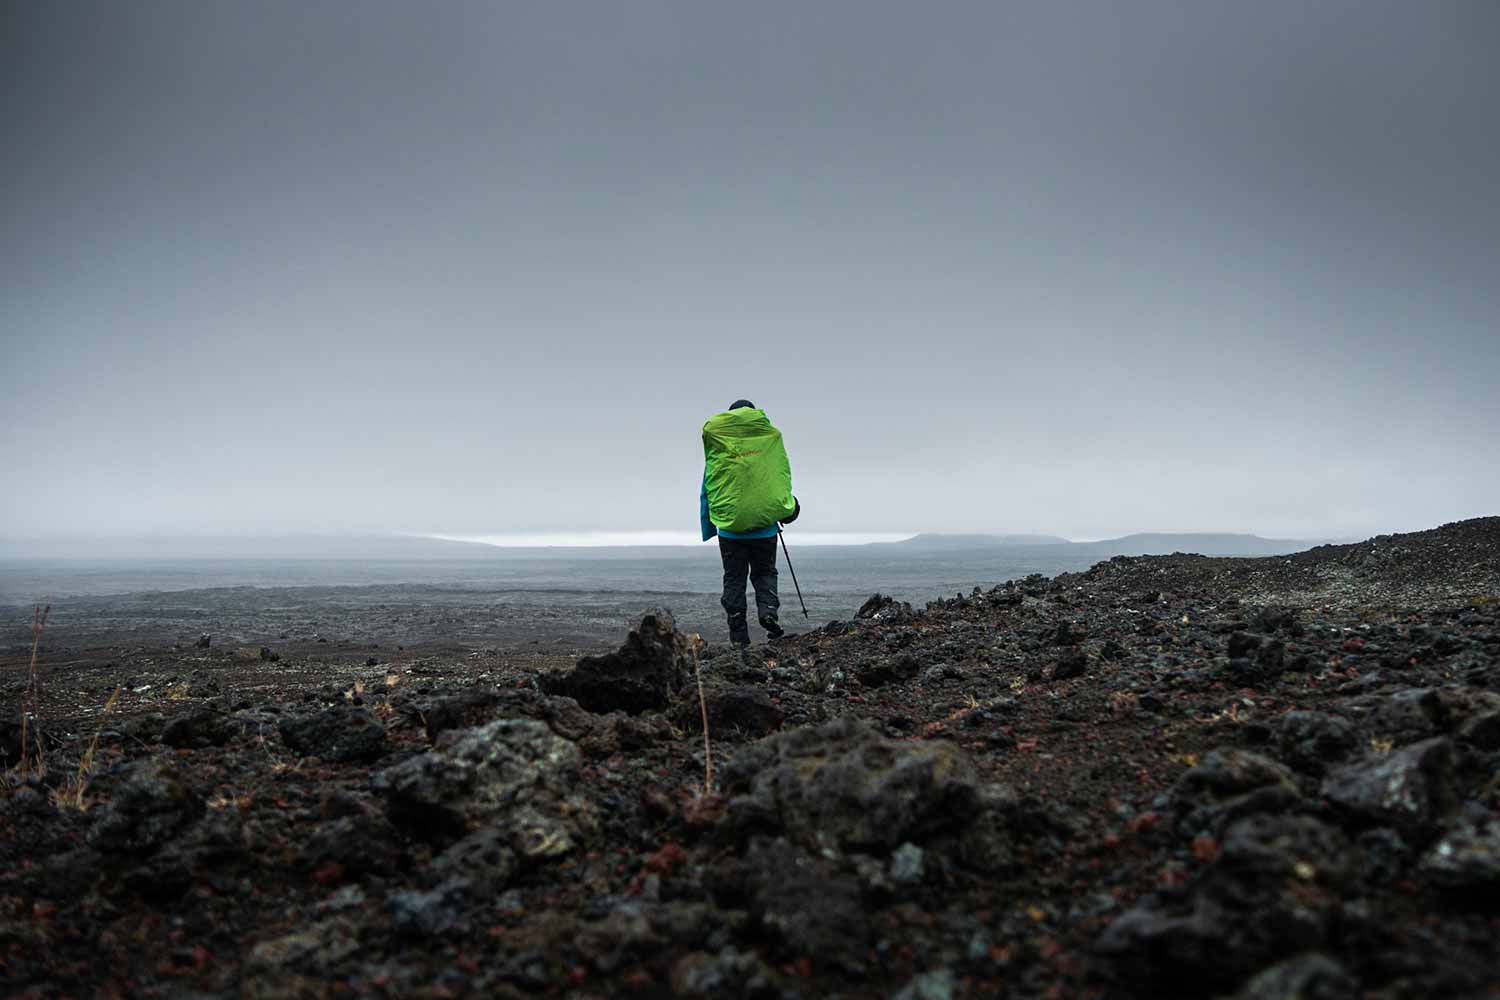
During my two weeks of participatory worksite on the Crozon peninsula on Célia’s straw house, we mainly worked on the application of lime-sand plasters on the exterior walls and earth-based plasters on the interior walls. The application of the plaster must be done at the end of the summer, before the rains arrive and damage the walls.
Lime plaster
The exterior plaster on a house built in straw is mainly done using the lime-sand mixture. The coating helps to protect the exterior walls from the elements and wind, which can potentially dig up the coating layer and damage the straw bales.
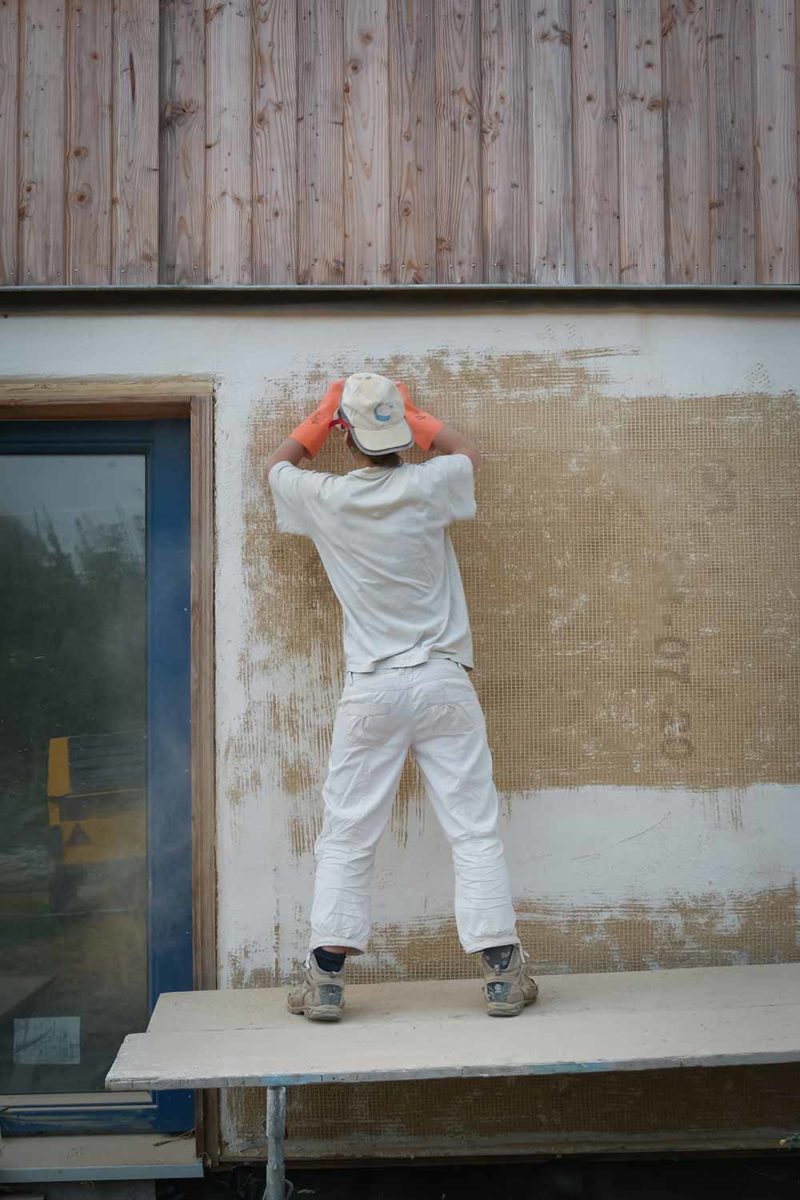
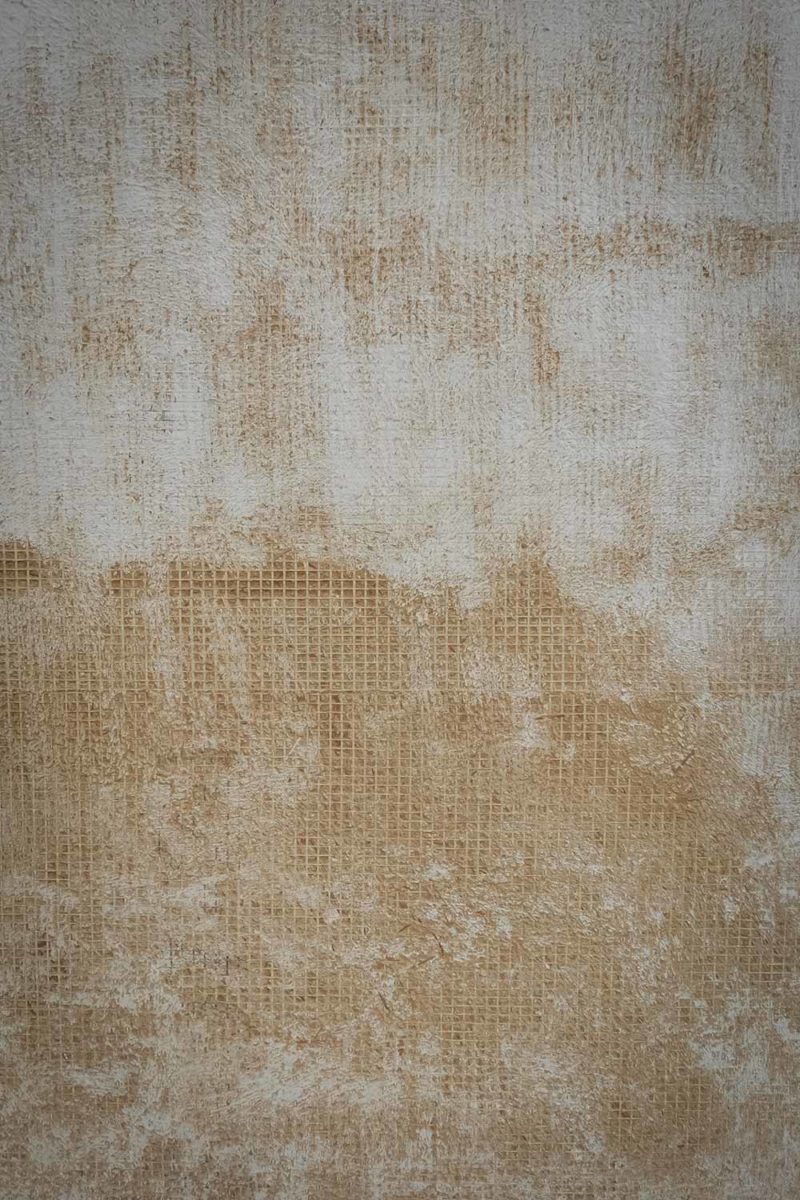
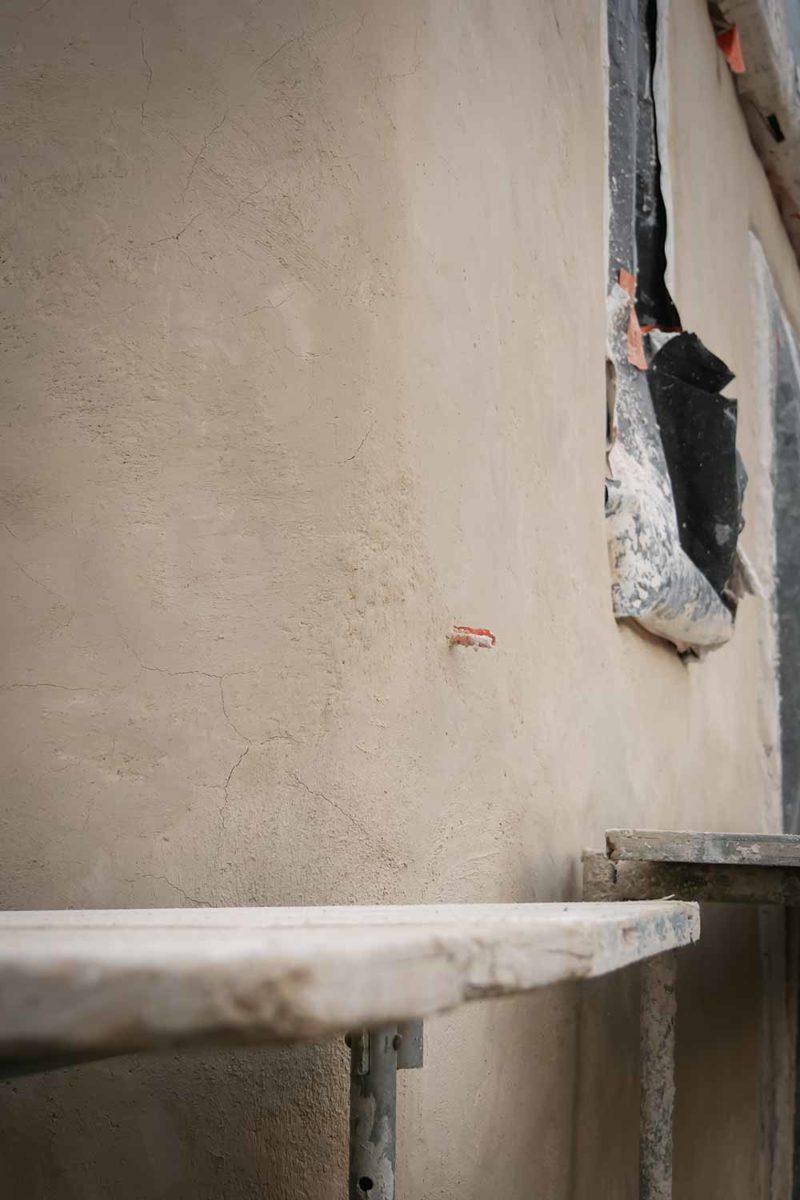
Celine having erected her walls in straw last year, she had applied on the exterior walls a layer of whitewash, light lime plaster, to protect her walls from winter. We started by protecting the doors and windows with large tarpaulins and then set up the scaffolding around the house so that we could work up to the full height of the walls. The first part of the project was therefore to remove using brushes, the layer of whitewash previously placed in order to expose the layer of slip and the frame below. The layer of slip is a mixture of water and clay that we just spread roughly on the straw bales in order to fix a layer of earth plaster used to fix the frame. (detail on the layer of earth plaster below). The frame is a fiberglass frame used to fix the lime plaster and prevent it from cracking when it dries.
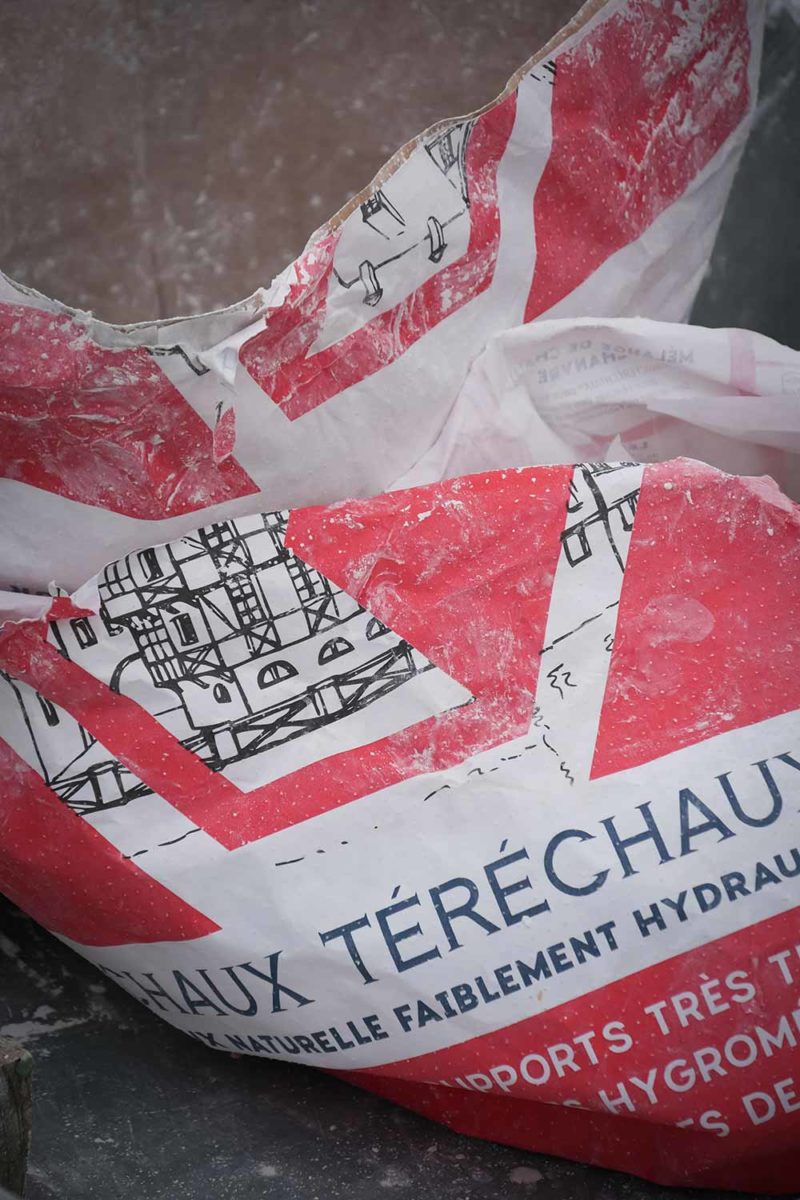
Working with lime requires some care. Lime is a mineral powder obtained by calcining limestone which was formerly made in lime kilns. There is one left, about twenty kilometers from Telgruc-sur-mer, where the construction site is located, which was used until 1872. A mixture of limestone and wood or coal was piled up there and then set on fire. Thanks to its thick walls, the temperature was very high, which allowed the limestone to be calcined and to obtain a fine white powder called lime. Today the transformation of limestone into lime is done in industrial factories. Lime is a fine powder that can irritate the lining of the nose if inhaled too much. When mixed with water in large quantities, lime can generate heat and small explosions and burn skin on contact.
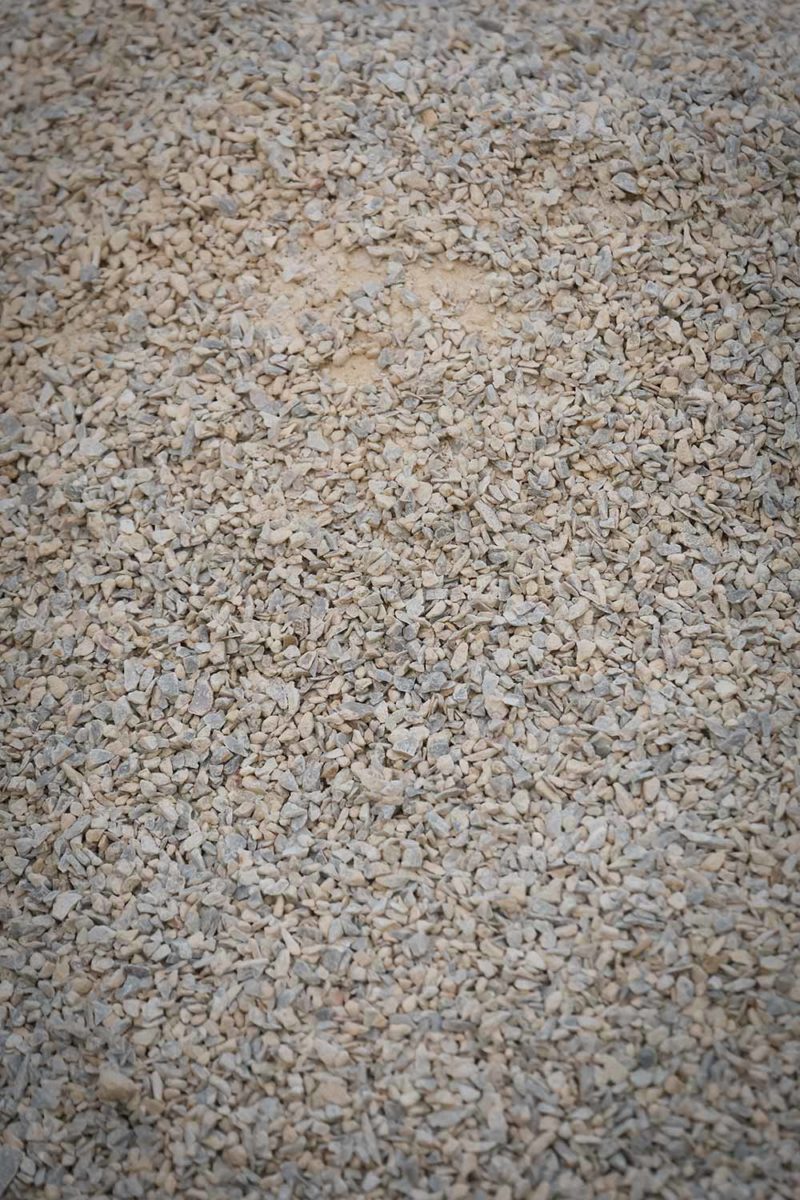
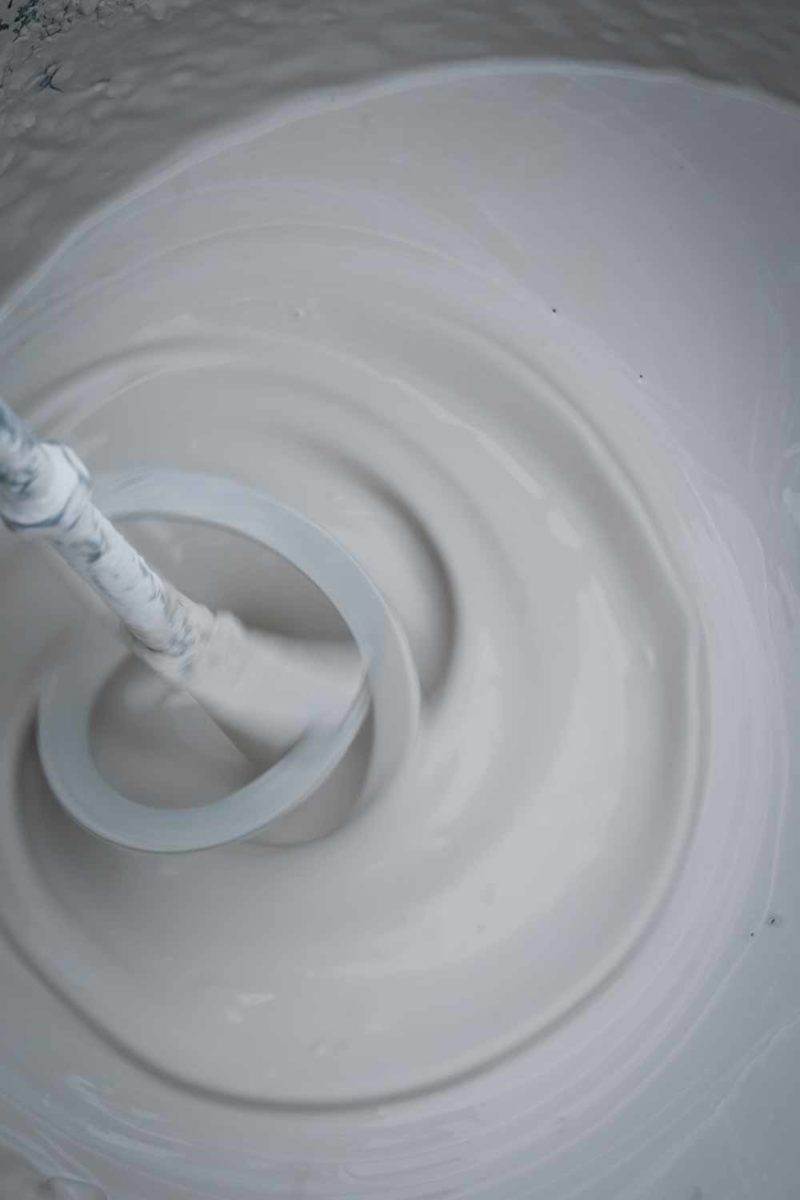
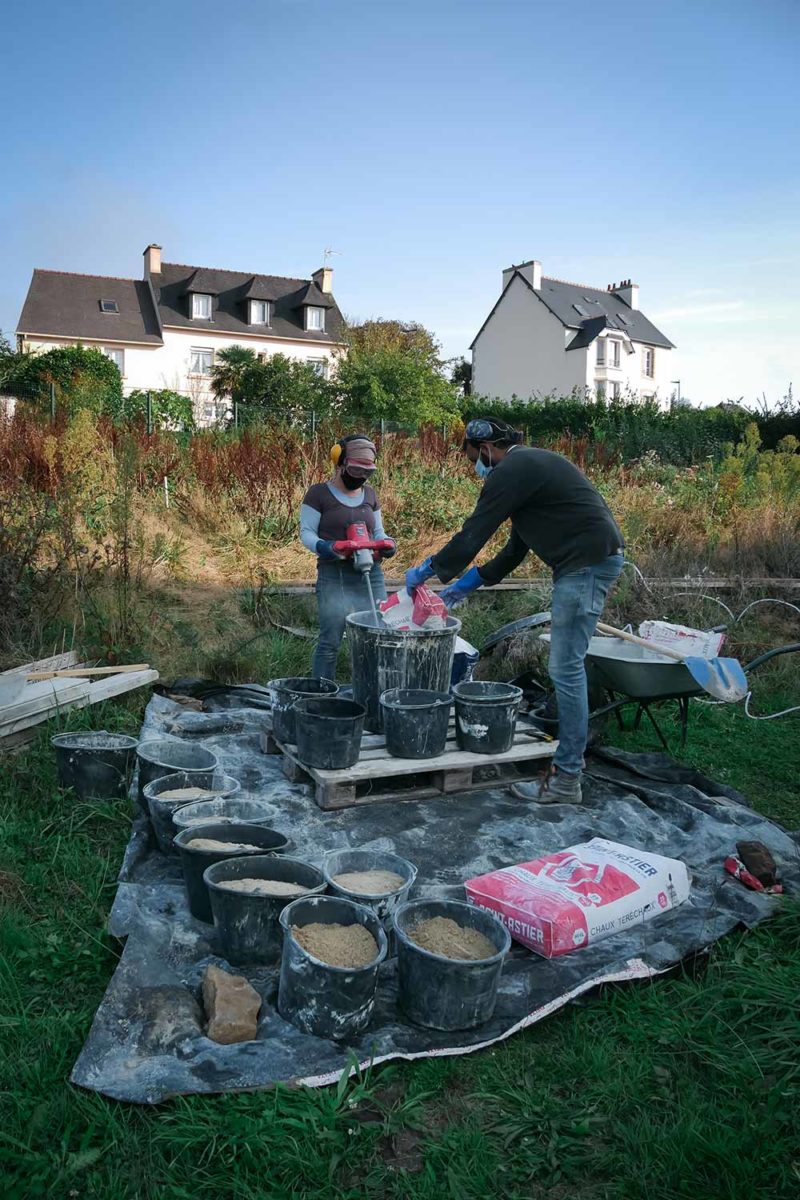
The lime-sand coating mixture is prepared by mixing one dose of lime for three doses of sand with the quantity of water necessary to form a homogeneous paste that is not too liquid. Mixing is done with a mixer and the lime must always be poured into the water and not the other way around in order to avoid explosions. Once the mixture is ready, it is poured into a “sablon”. A “sablon” or plaster projector, is a tool for projecting plaster directly on the wall rather than doing it by hand. The sablon is connected to a compressor by a tube which sends high pressure air through the tube when a handle is pressed. The compressor runs on gasoline and makes a lot of noise but the application by hand was ruled out by Celine because she felt that it required a lot of practice and would therefore be too difficult and too long for non-professionals to do. There was also the risk of having poorly made plastered walls. Since pleasure is an important part of participatory projects, Célia has chosen to favor practicability for this technique.
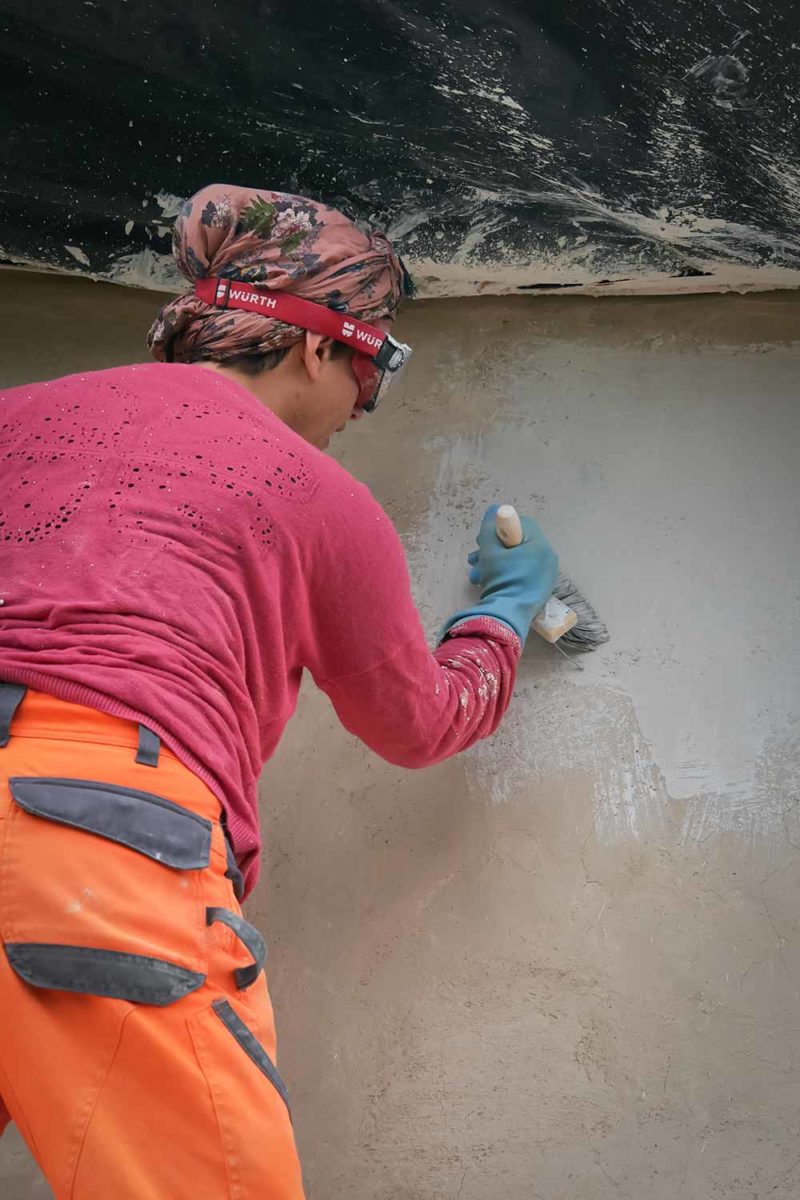
Once the plaster is sprayed on the wall, it must be spread evenly using specific tools, which can be complicated because lime plaster tends to dry very quickly. It is then necessary to sprinkle the plaster lightly with water so that we can continue to spread it. Care must also be taken to make the wall as flat as possible and to properly cover all spaces, particularly the areas bordering the boxes of doors and windows. The angles also require a lot of attention since these are the most fragile areas. Working on the application of the plaster was for me a very pleasant activity, in particular the creation of rounded angles which give an organic aspect to the building.
Once the plaster is in place, a layer of whitewash (water and lime) with a liquid texture is applied to close the walls and cover all the last small holes and roughness of the wall. The whitewash being very liquid, it is not easy to make a very homogeneous appearance, but the handmade appearance is part of the identity of the house and recalls the appearance of old houses. The coat of whitewash must be renewed every year in order to keep a beautiful white color and to protect the wall well.
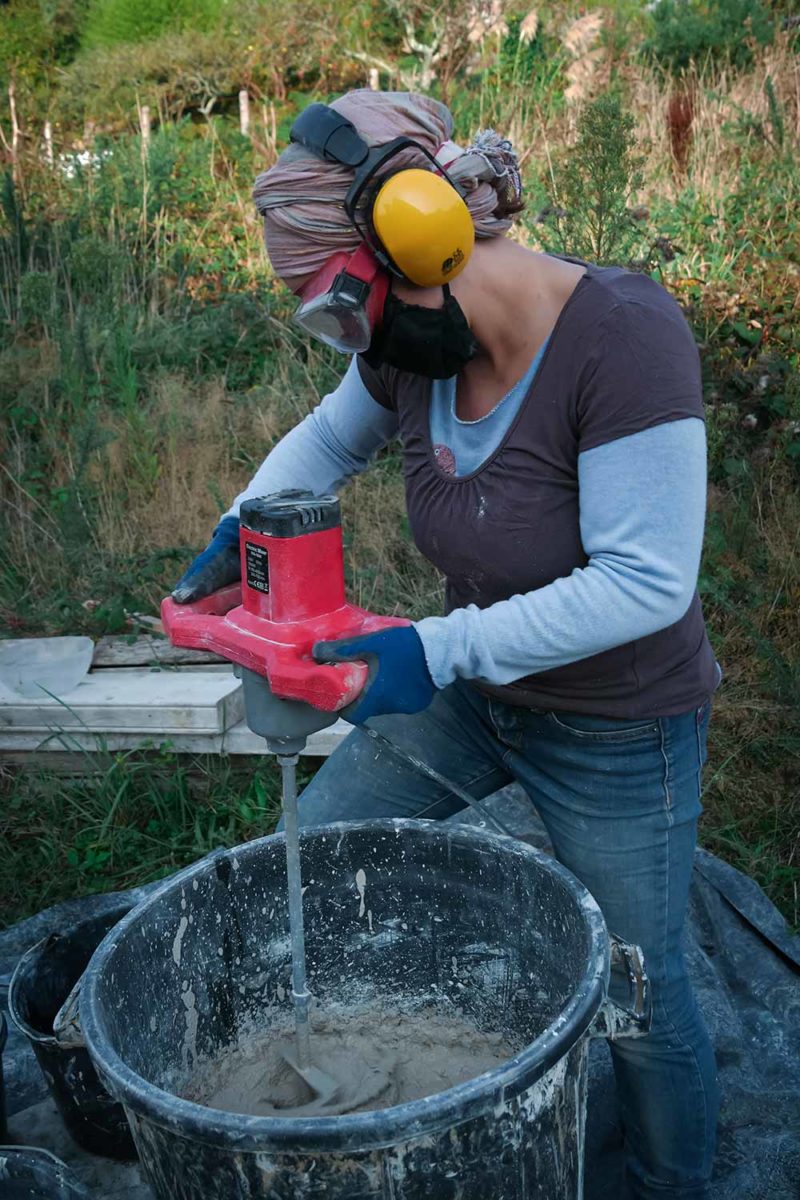
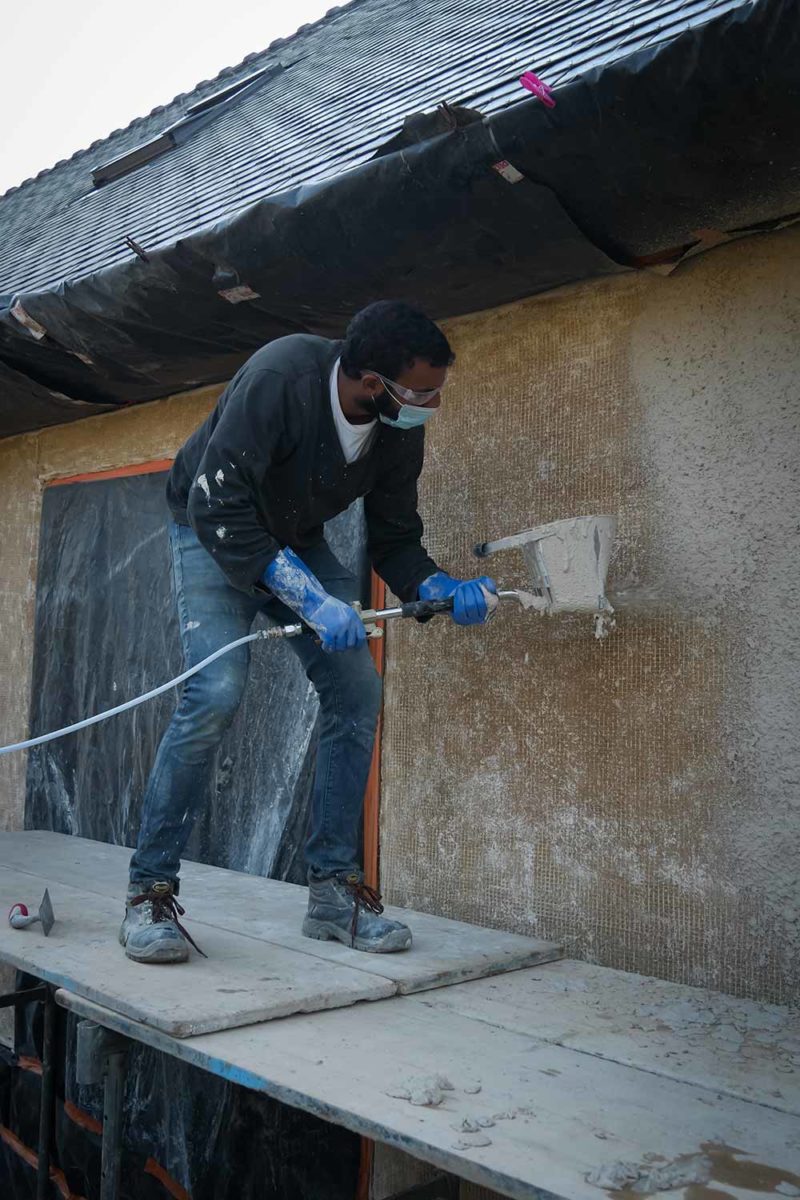
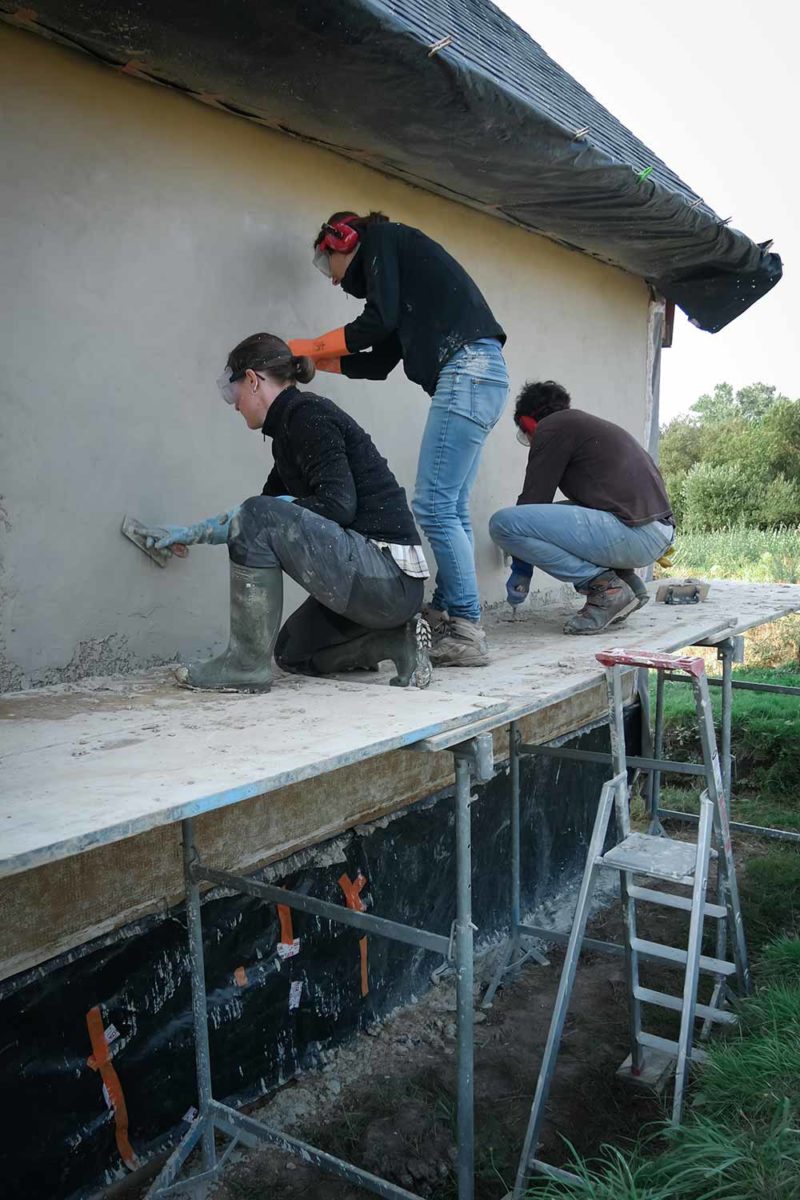
Cleaning of the walls with a brush and preparation of the mixture with a mixer by Amandine. At the bottom in the middle, Youssef using the sablon to project the layer of plaster on the wall then me, Sophie and Simon spreading the plaster using specific tools.
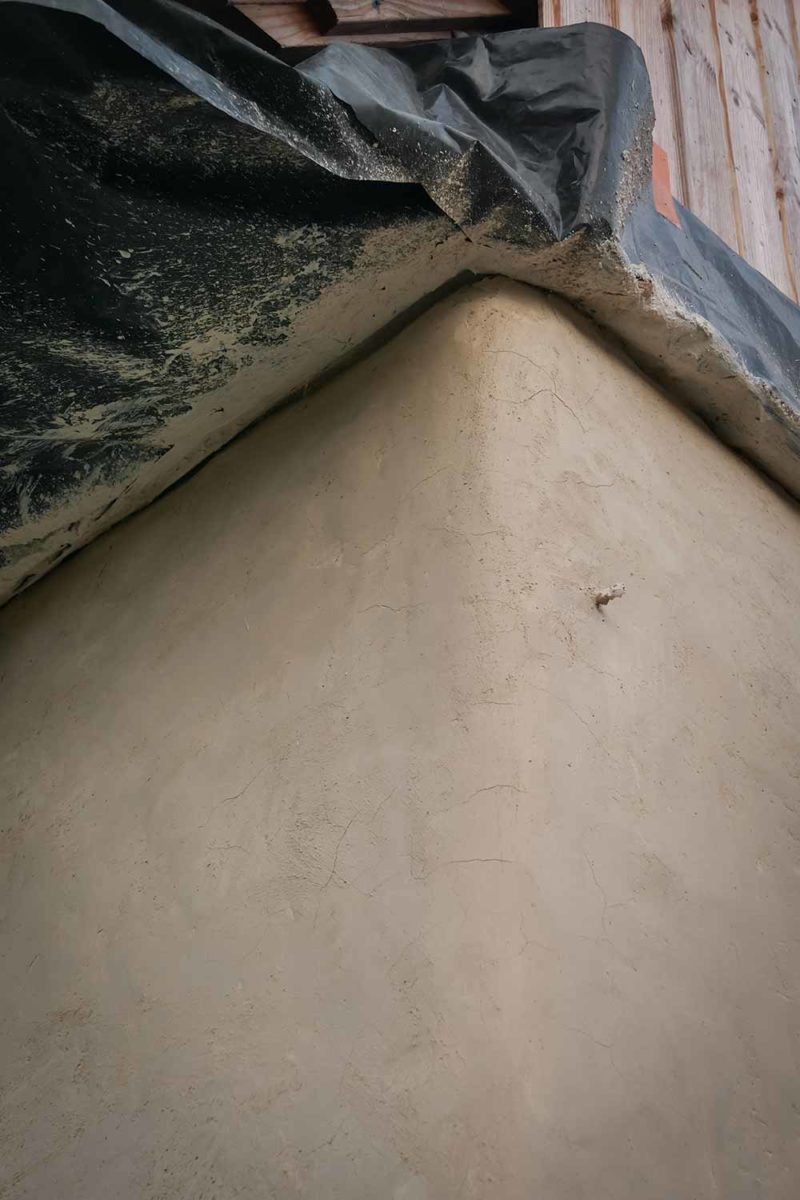
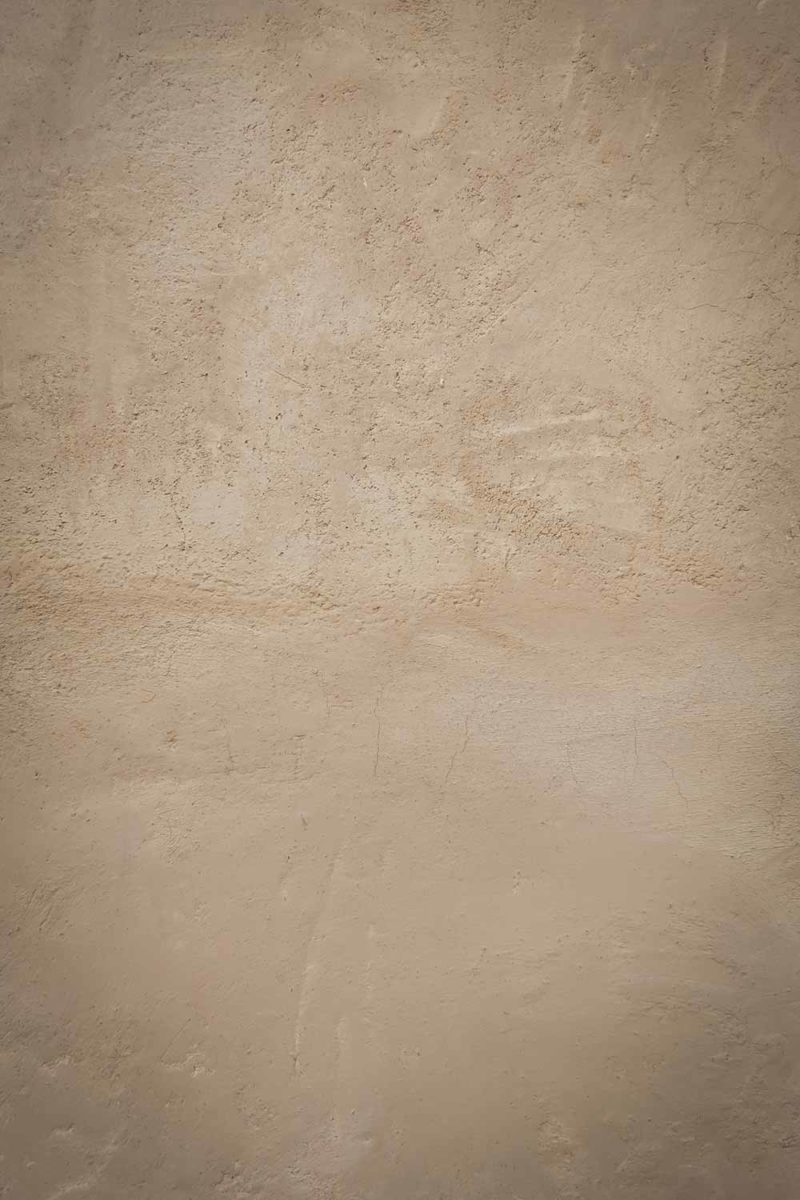
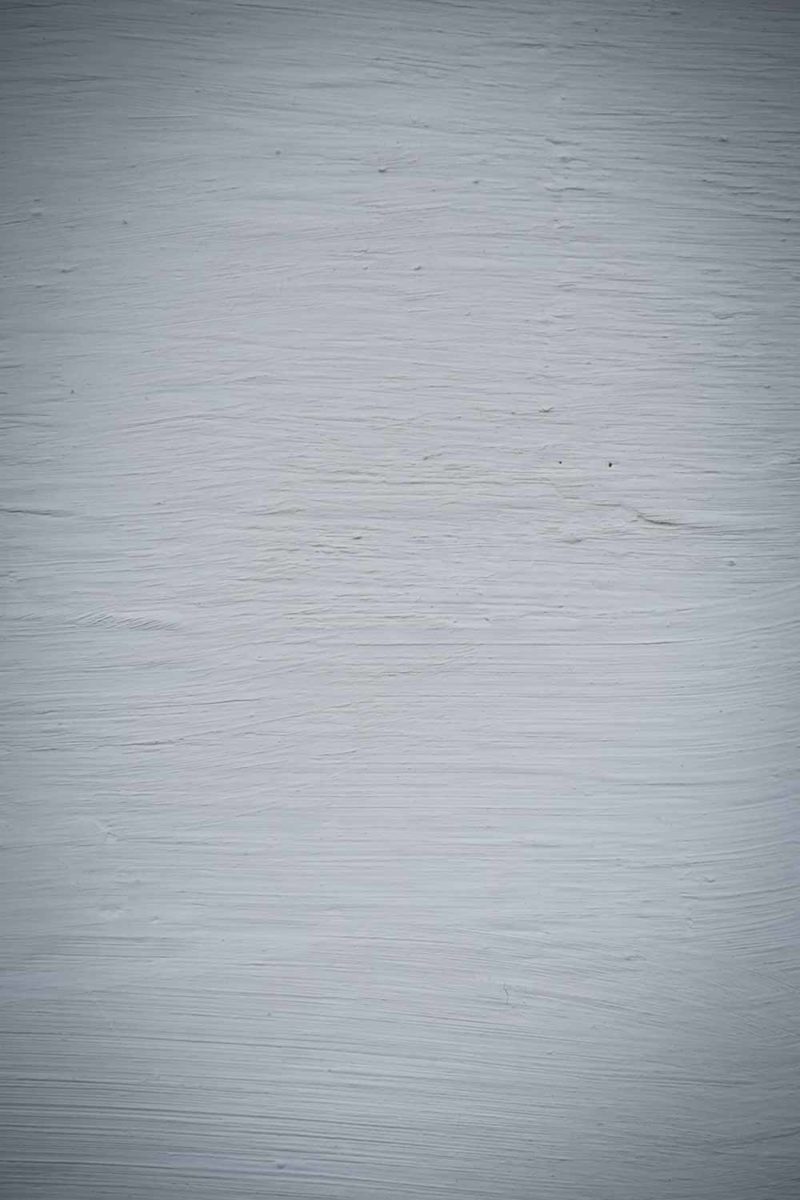
The walls covered with lime plaster with a slight cream color. Bottom left, Amandine applying the coat of whitewash to finalize the wall. The whitewash has a much whiter color than the plaster.
Earth plaster
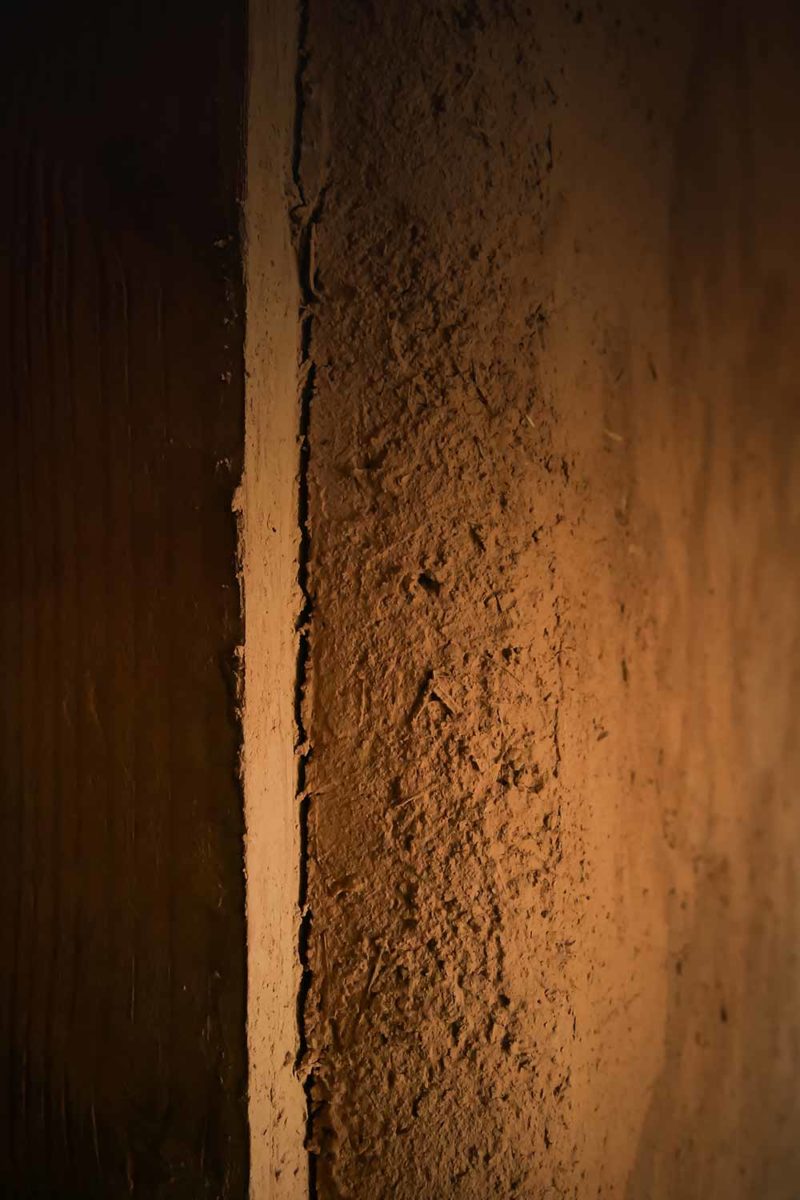
Inside, the walls are covered with an earth plaster. The earth provides very good insulation and allows the wall to breathe and therefore to regulate the humidity of the air. The earth-straw pair combinaison create a strong mass allowing the accumulation of heat during the day via the sunlight.
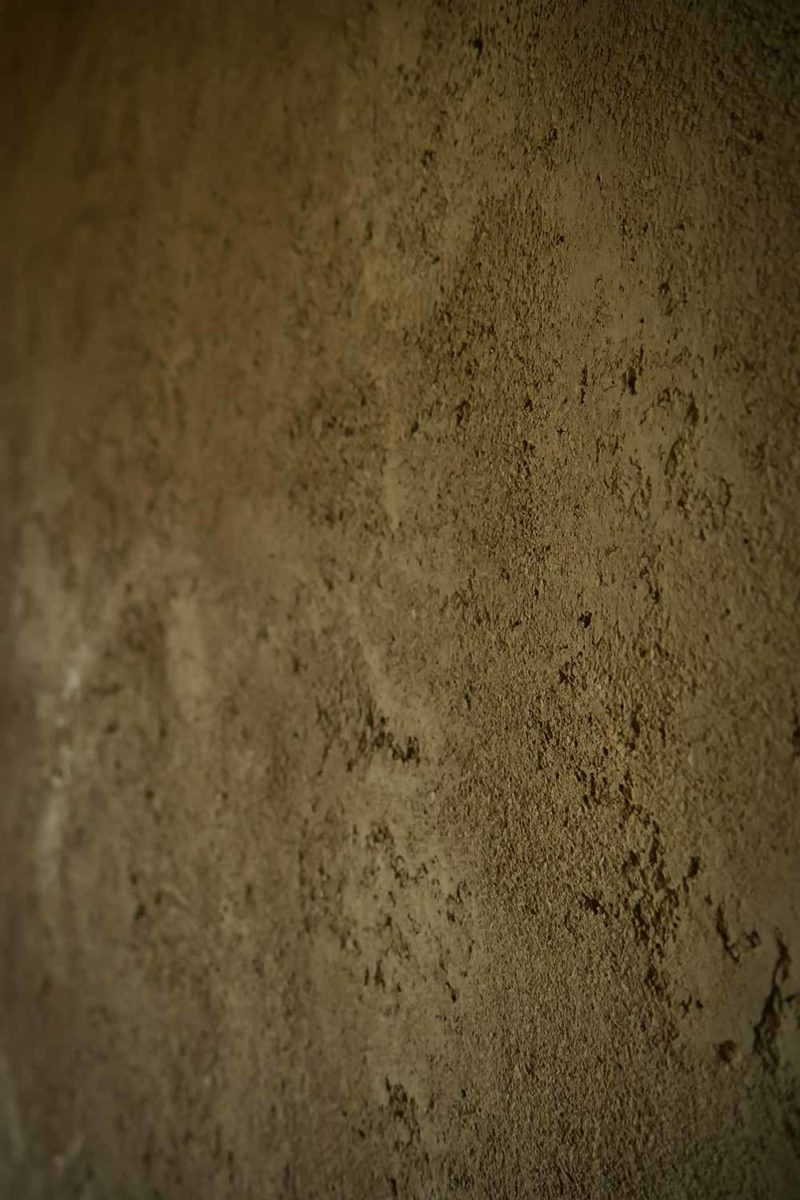
The load-bearing walls of the house had already been plastered last year and their finalized appearance was very beautiful with a nice natural orange color. Corners and ends of the walls had been rounded as for the exterior, which created a house with very soft lines and therefore very pleasant.
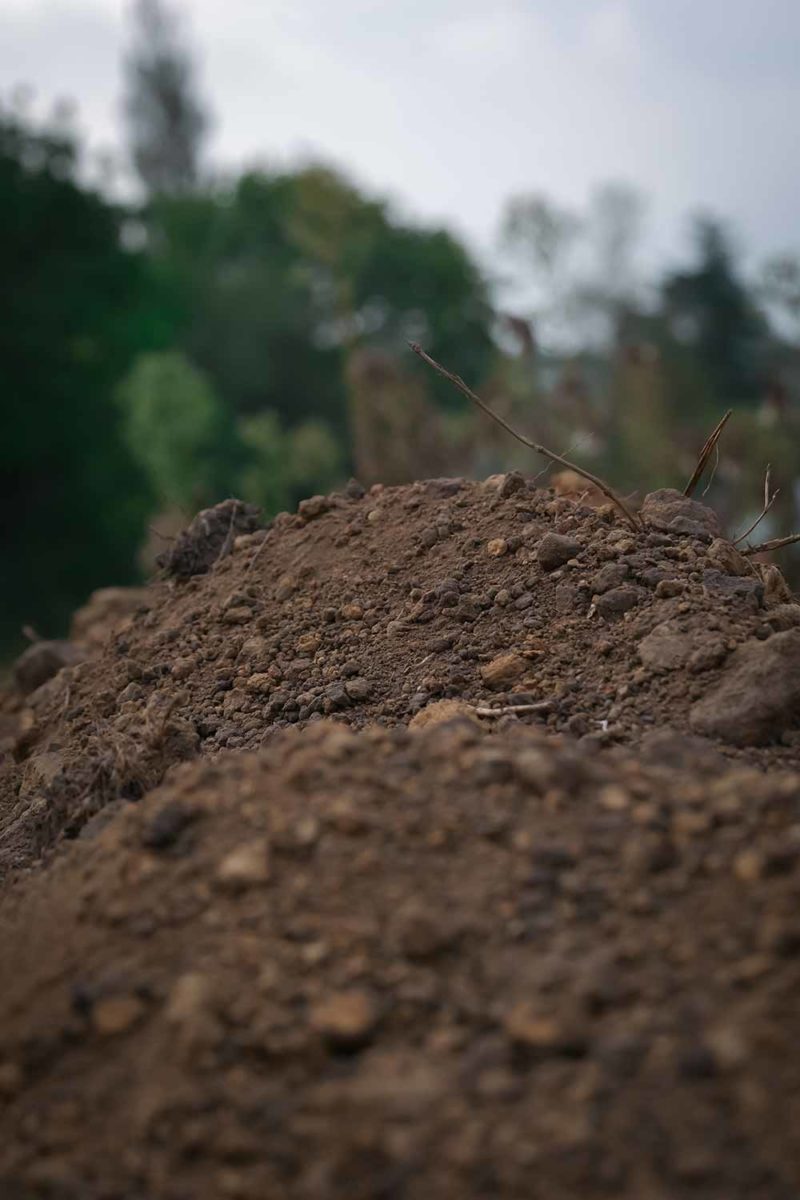
The earth plaster is prepared by mixing with a concrete mixer or mixer, and according to Célia’s calculations, 5 buckets of soil, 7 buckets of coarsely sifted sand, about 3 buckets of water (it depends on the climatic conditions when preparing the mixture) and 2 buckets of straw strands. The mixture should have the consistency of a kind of compacted mud.
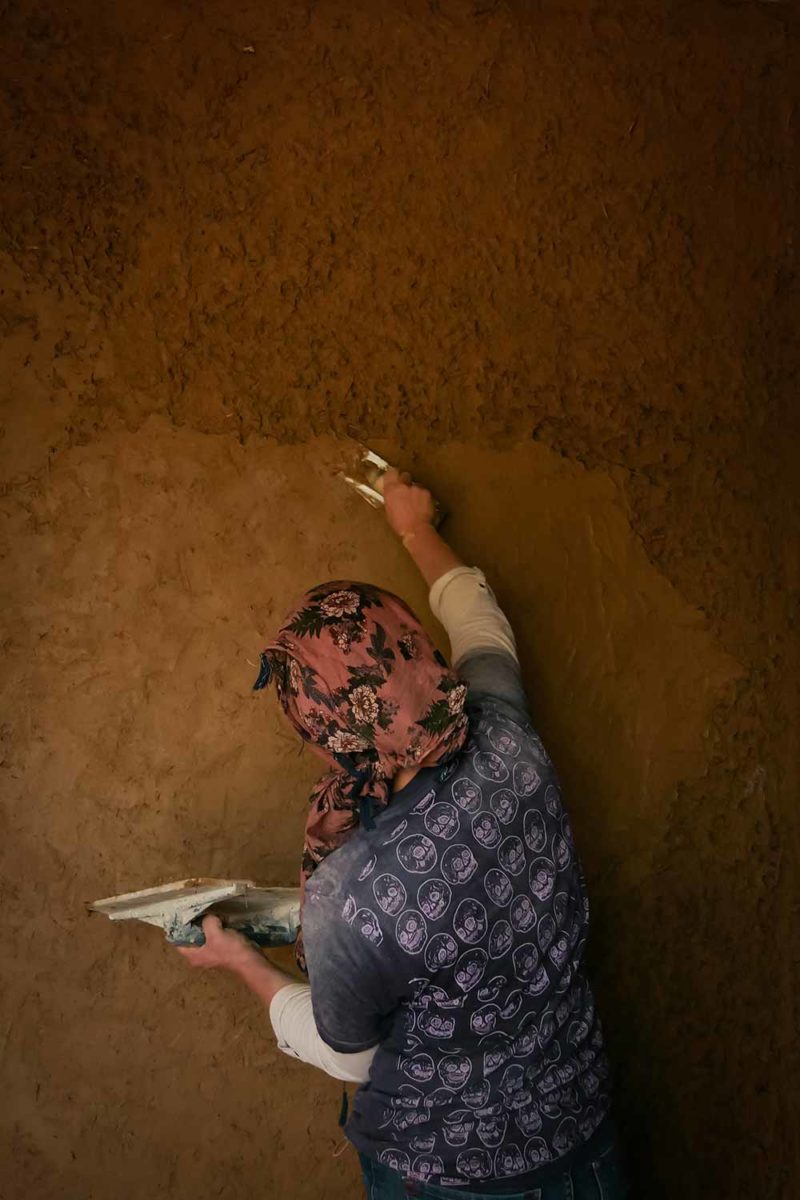
Same technique as for the exterior, a layer of slip is applied to the straw, followed by a first layer of earth coating applied roughly. This layer is applied by hand and once applied to the wall we make holes with fingers inside the coating. This will allow the second layer to attach to the first.
The second layer is applied directly on the first or at most the next day. This layer must be very smooth and without bumps and is applied using floats. Once the second coat is in place, you must leave six months to allow time for the wall to dry before applying the final coating which finalizes the appearance of the wall.
Working with earth was a very pleasant experience. I really enjoyed spending hours applying the earth plaster on the walls with a desire to obtain the most beautiful possible surface and curves. There is something fascinating and relaxing about handling the raw material and watching the wall slowly form. The mind is concentrated on the gesture and the fingers feel the slightest variations and undulations.
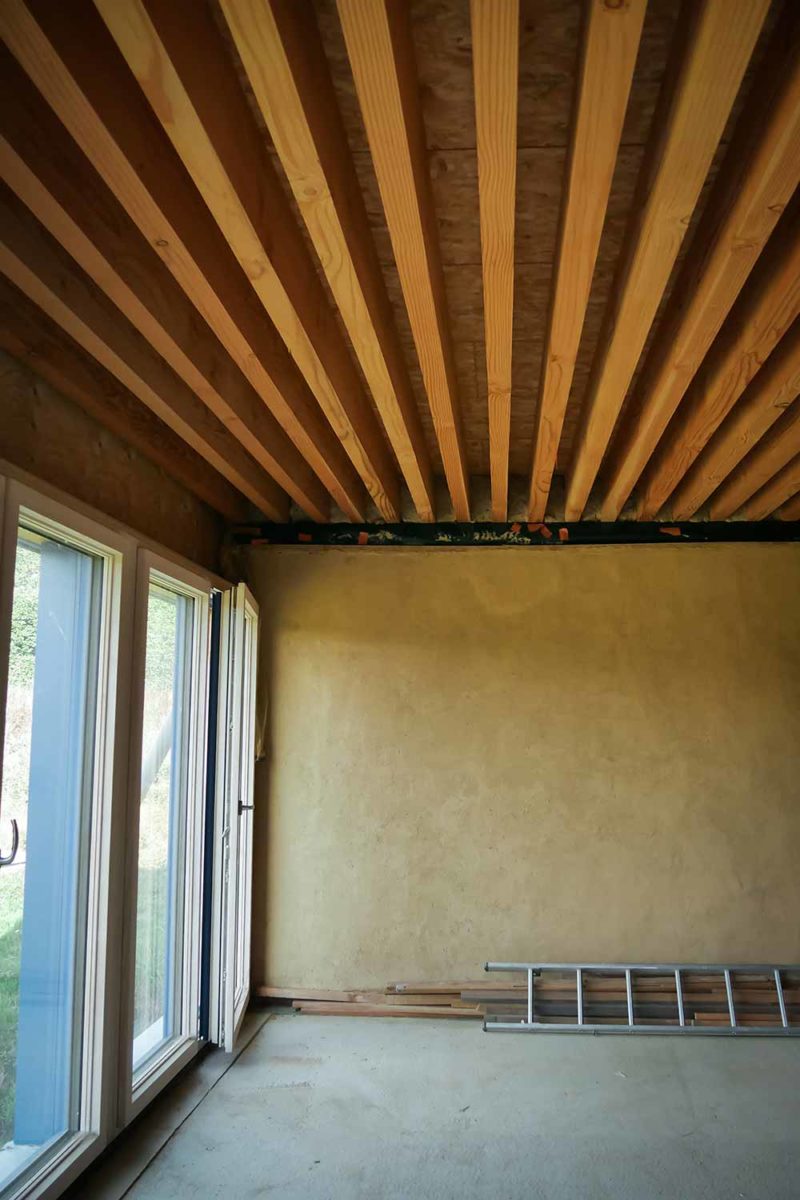
At the end of my two week stay with Célia, we had covered the entire exterior walls with lime and finalized the interior partitions with earth. The next step of the site consisted of finalizing the roof insulation and placing the cork sheets on the exterior foundations. I hope to be able to come back soon in order to continue working on Célia site which has allowed me to immerse myself directly in the techniques of eco-construction.
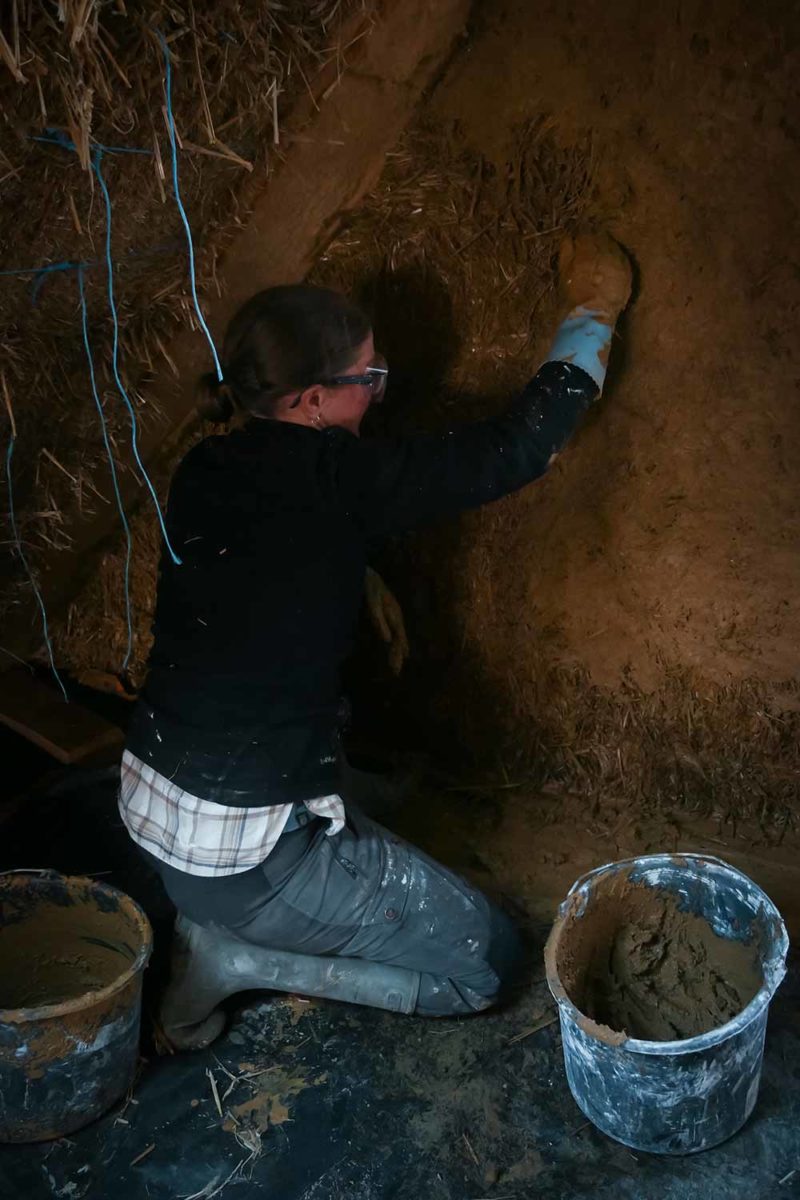
Top right, interior walls already covered with the last layer of earth plaster. Bottom left, me applying the first coat of earth plaster on the straw bales upstairs. In the middle, Amandine applying with a float, the second coat of plaster in the bathroom. Bottom right, a finalized wall with a superb rounded angle.
Note: In order to respect the right to privacy and anonymity on the internet, the names of people have been changed.